
How to generate content with Gixo in a real team workflow
A complete tutorial on creating review-ready articles, blog posts, newsletters, and marketing copy with Gixo. Learn how the workspace moves from brief to draft to editor to publishing.
What your plan includes. Writing, checks, exports, public share links and publishing to WordPress, Ghost and Medium are on every plan, from $10 per seat a month. Comments and Brand Voice need Professional; Brand Kit and bulk need Business.
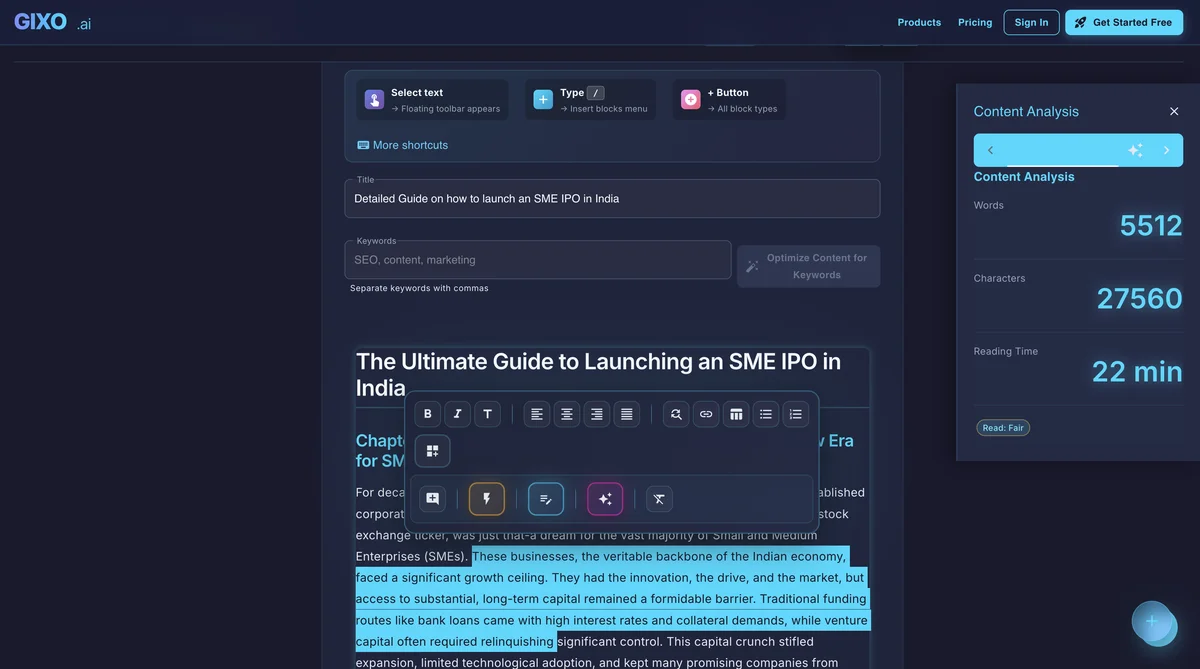
The primary content workflow moves from brief setup to a structured draft, then into the editor for refinements, publishing, and export.
What This Tutorial Covers: Generative AI for Content Creation, End to End
Everything you need to know about moving from format selection to draft generation to editor review and publishing.
Learn how to choose the right format for your goal: articles, blog posts, newsletters, marketing copy, and more, each matched to the workflow you need.
Step-by-step instructions on creating and applying Brand Voice profiles. Define your tone, style, and vocabulary to ensure every piece of content sounds like your brand.
Learn how to set audience, metadata direction, tone, and structural expectations so the draft arrives in a format your team can actually review and ship.
Generate multiple drafts at once by providing a list of briefs or topics. Ideal for publishing queues, product descriptions, or campaign clusters.
Master the rich-text editor and inline AI tools. Rewrite paragraphs, expand sections, adjust tone, and use selection-based AI commands for precise refinements.
Export to PDF or HTML, publish directly to WordPress or Ghost, or use the Medium draft handoff. Learn how to connect your accounts, preserve formatting during delivery, and use Substack as export.
Step-by-Step Content Creation
Navigate to the Content section from the dashboard. Choose from article, blog post, newsletter, marketing copy, or other formats. Each type has tailored generation settings.
Enter your topic, source notes, desired word count, and tone preferences. Optionally select a Brand Voice profile to apply your brand's writing style automatically. Set any specific instructions for structure or emphasis.
Click Generate and the AI produces a structured draft with headings, paragraphs, metadata guidance, and formatting. Treat the first output as a reviewable draft whose usefulness depends on the brief and source material you supplied.
Open the content in the rich-text editor. Modify any section, rewrite paragraphs with AI assistance, add images, adjust formatting, and ensure the content meets your quality standards. Use the inline AI to expand, condense, or rephrase text.
Export as PDF or HTML, publish directly to a connected WordPress or Ghost site, or use the Medium draft handoff. Substack remains available through export; inspect destination formatting, imagery, and metadata before going live.
Pick the Right Content Type for Your Goal
| Content Type | Best For | Quality check before delivery |
|---|---|---|
| SEO Article | Search intent and a defensible answer | Does every section help the reader complete the query? |
| Blog Post | Audience engagement and a clear point of view | Are examples, sources, and limitations specific to the audience? |
| Newsletter | A useful decision or next action | Can a reader understand what changed and what to do next? |
| Marketing Copy | A credible proposition and relevant CTA | Does the page explain why this product fits this buyer? |
| Technical Doc | Steps a reader can actually follow | Are prerequisites, failure cases, and verification steps present? |
| Educational | Learning progression and practice | Can the reader apply the lesson without guessing? |
What to Check Before You Publish
Generation creates a starting point. The final quality comes from checking whether the draft is relevant, supported, and useful to the person who will read it.
Remove keywords that attract the wrong audience. The title, opening, examples, and call to action should answer the same real job for the same reader.
Verify numbers, competitor statements, product claims, and quotations against the supplied material. Mark unknowns instead of making the draft sound more certain.
Read the rendered page as a buyer. Check hierarchy, examples, images, links, and the next action before publishing it to a CMS.
Common Questions About Content Generation and SEO Elements
Inside Quill
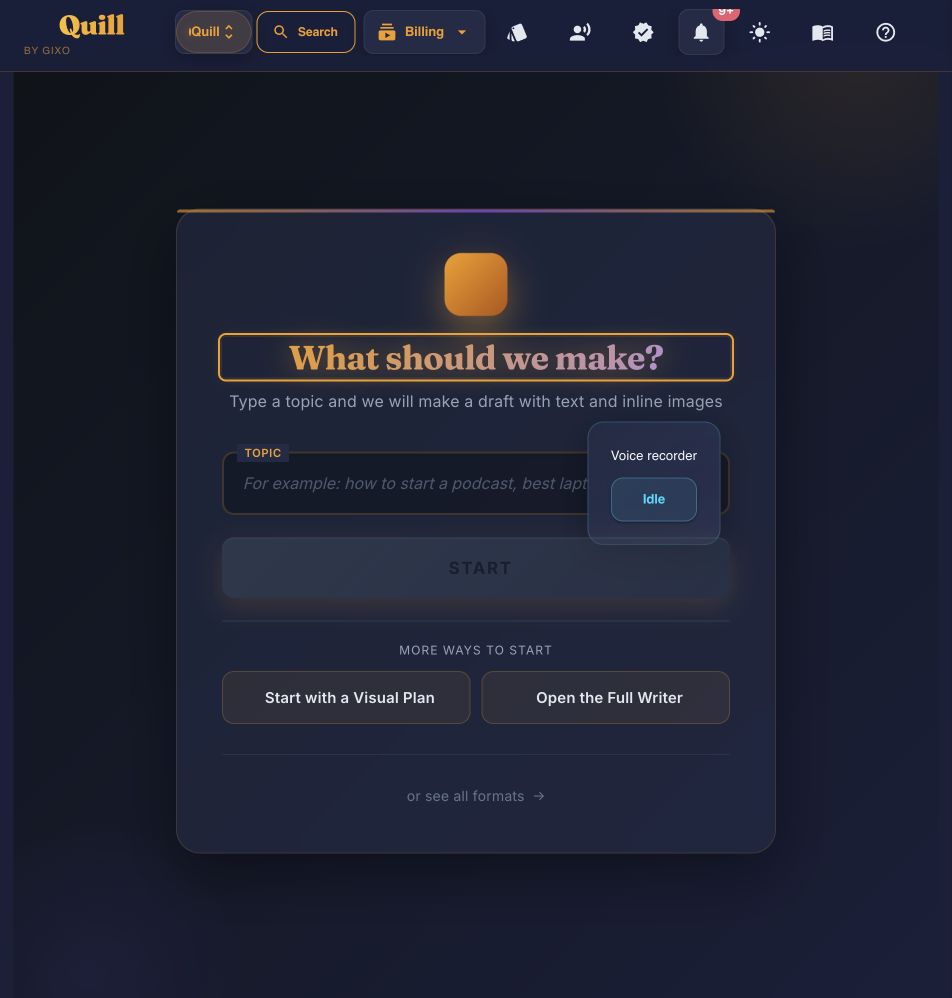
Start with the amount of structure you already have
Updated